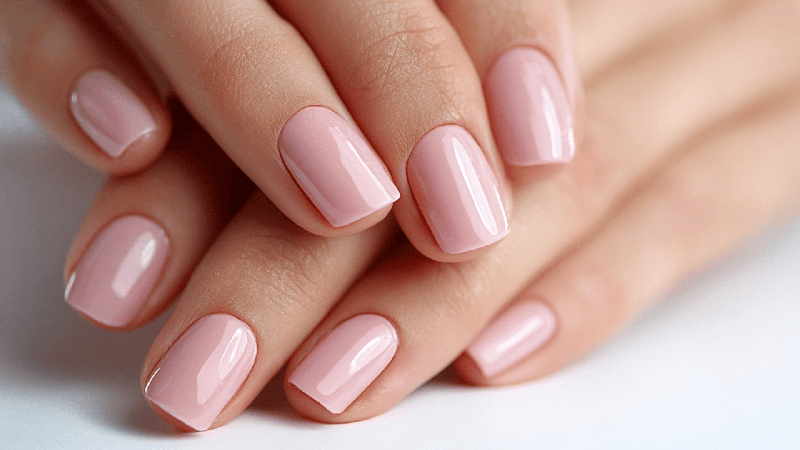
I remember my first gel manicure attempt vividly. I had watched a dozen tutorials, bought a starter kit, and felt fully prepared. Forty-five minutes later, I had lumpy nails, flooded cuticles, and a lamp that beeped at me like I had failed a test. Three days later, the gel peeled off in sheets.
The problem was not the products. It was me—and a long list of beginner mistakes I did not know I was making.
Here is what I learned the hard way, so you do not have to.
Mistake #1: Skipping or Rushing Nail Preparation
This is the number one reason gel manicures fail. Your natural nail plate has oils, moisture, and invisible cuticle residue that prevent the gel from bonding properly. If you skip the prep, your gel will lift within days.
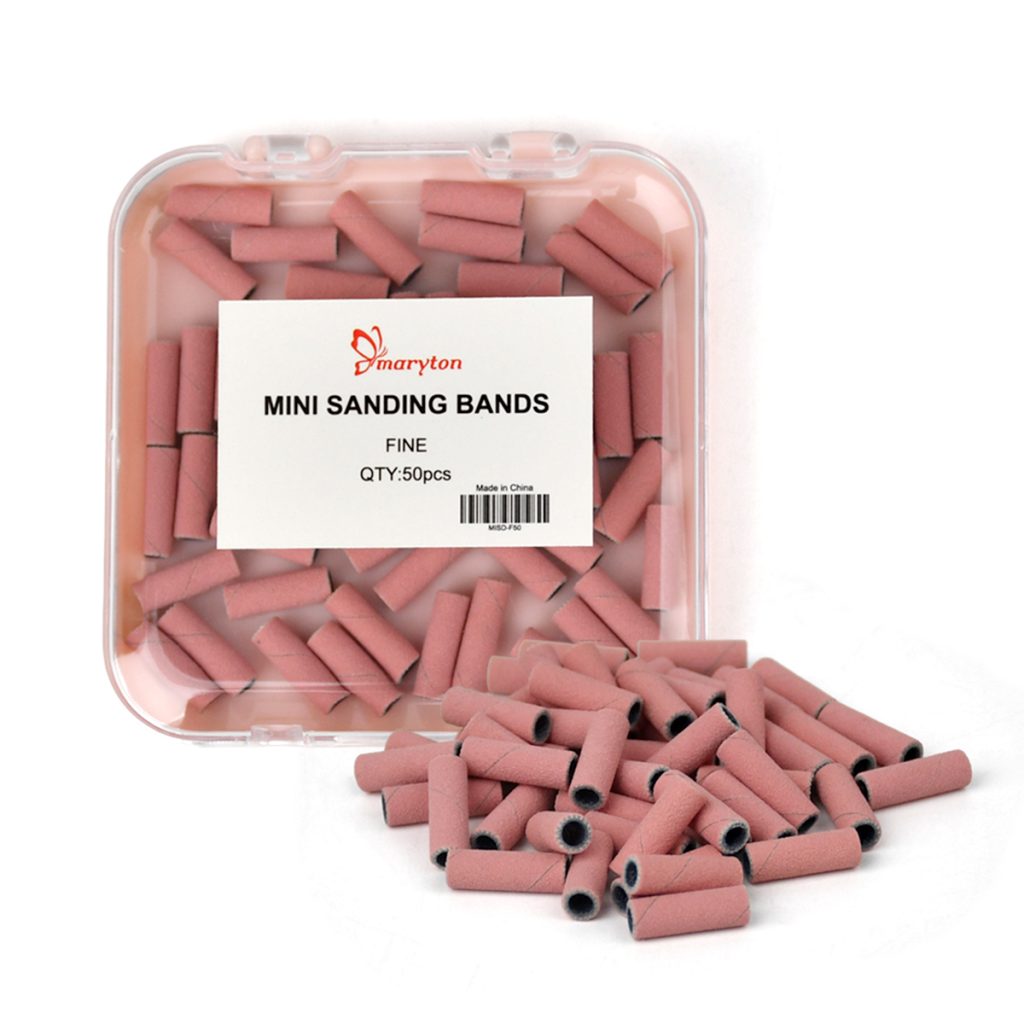
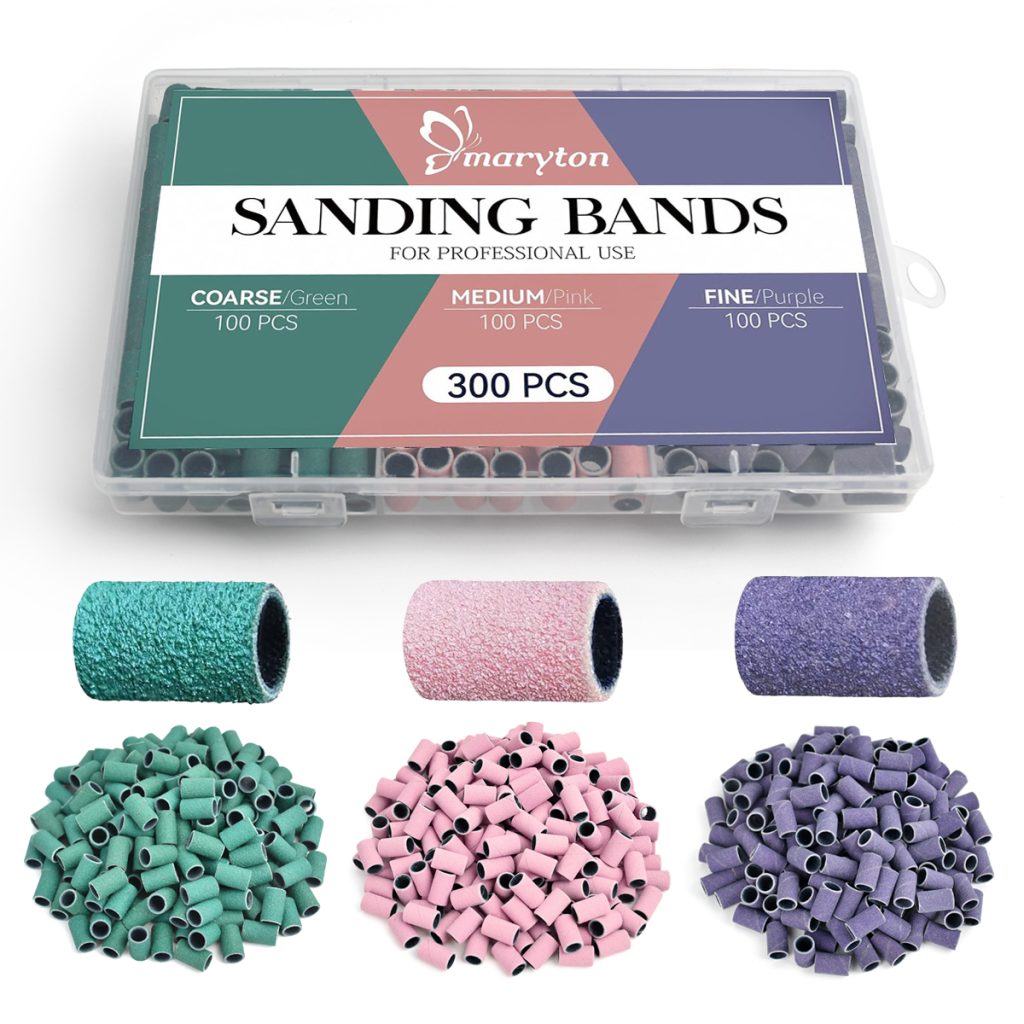
The fix: Remove old polish, push back cuticles, and lightly buff the nail surface with a professional manicure kit. Do not over-buff—just two or three gentle passes. Then wipe every nail thoroughly with a dehydrator or rubbing alcohol. After this, do not touch your nails. Finger oils transfer instantly and ruin adhesion.
Mistake #2: Applying Gel Too Thickly
Thick layers are the second most common error. Beginners think more product equals stronger nails. In reality, thick gel traps air, cures unevenly, and peels faster. It also creates more heat during curing, which can be uncomfortable.
The fix: Apply thin, even layers. Gel should look like a thin coat of paint, not a blob. If the gel pools at the cuticle or sidewalls, you have used too much. Wipe the brush before applying. Two thin coats are always better than one thick one.
Mistake #3: Getting Gel on Skin and Cuticles
Gel that touches the skin is the fastest route to lifting. It creates a physical barrier that prevents proper adhesion. It also increases the risk of allergic reactions over time.
The fix: Maintain a small gap—about 1mm—between the gel and your cuticle and sidewalls. If gel touches skin, clean it up before curing. Use a thin brush dipped in alcohol or a wooden stick to wipe away the excess before you cure. Once cured, gel on skin is much harder to remove.
Mistake #4: Under-Curing or Over-Curing
Under-cured gel is soft, sticky, and peels within days. Over-cured gel can become brittle and may cause heat spikes during application. Both result in a manicure that fails prematurely.
The fix: Always check your lamp’s wattage and cure times. Most LED lamps need 30–60 seconds per layer; UV lamps need 2 minutes. Follow your gel brand’s instructions—different formulas have different requirements. If your gel feels soft or tacky after curing, increase the time or check that your lamp is compatible.
Mistake #5: Forgetting to Cap the Free Edge
The free edge is the most vulnerable part of your nail. If you do not seal it, water seeps underneath and causes lifting. This simple step is often overlooked by beginners.
The fix: With every layer—base coat, color, and top coat—run the brush along the nail tip. This seals the edge and prevents water from entering. Do it with every single layer, not just the top coat.
Mistake #6: Using the Wrong Lamp
Not all lamps work with all gels. Using an incompatible lamp leads to under-cured gel, peeling, and sometimes allergic reactions.
The fix: Use the lamp recommended by your gel brand. If that is not possible, check that your lamp’s wavelength (typically 365–405nm) matches the gel’s requirements. A low-wattage lamp with a professional gel will not work, no matter how long you cure.
Mistake #7: Peeling Off Lifting Gel
When a corner lifts, the temptation is to peel it off. Resist. Peeling strips layers of your natural nail along with the gel.
The fix: If you see lifting, gently file the lifted edge smooth and apply a thin layer of top coat to seal it. If the lifting is extensive, remove the gel properly and start fresh. Do not pick or peel.
How to Properly Apply Gel Manicure: The Right Way
Step 1: Prepare your nails. Shape, push back cuticles, lightly buff, and cleanse thoroughly. No oils, no dust, no shortcuts.
Step 2: Apply base coat. Thin layer, cap the free edge, cure fully.
Step 3: Apply color. Two thin coats. Cap the free edge with each coat. Cure between coats.
Step 4: Apply top coat. Thin layer, cap the free edge, cure fully. Wipe the inhibition layer with alcohol if required.
Step 5: Hydrate. Apply cuticle oil. This keeps the manicure flexible and prevents lifting at the edges.
How to Repair Lifting Gel and Manage Regrowth
For minor lifting: If only a small edge has lifted, file it smooth and apply a thin layer of top coat over the area. This buys you a few more days.
For regrowth at the cuticle: When your nails grow out, the gap between the gel and the cuticle becomes visible. To “fill” the gap, gently push back cuticles, lightly buff the new growth area, apply a thin layer of base coat, then builder gel or color, and cure. Blend the new gel into the existing gel to create a seamless line.
For extensive lifting: Remove the gel completely and start fresh. Do not layer new gel over old lifting—it will continue to lift and may trap moisture underneath.
The Bottom Line
Most beginner mistakes are preventable. Prep your nails properly, apply thin layers, keep gel off your skin, cure fully, and cap the free edge. These five habits will transform your gel manicures from early-peeling disappointments into long-lasting, salon-quality results. And if you see lifting—do not peel. File, seal, or remove properly. Your natural nails will thank you.
